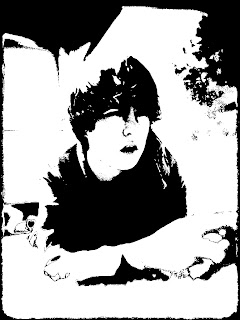
I recently got Adobe Photoshop CS5 so I have been mucking around with a heap of the features, in
particular its range of adjustments.
In these photos I have experimented
with the threshold while adjusting hue and saturation to gain more control over the dark and light areas.
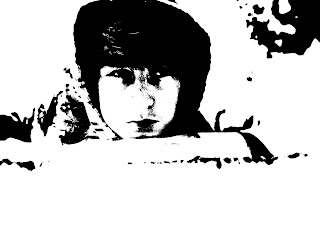
This photo was fun to work with, this was when I realized that by adjusting different colours hue and saturation instead of adjusting the master colours, I was able to produce dark areas in places I wanted, such as the hand outline.

This one was somewhat difficult due to a house in the background but I managed to remove it whilst still keeping the detail in the face and mouth. The dark spots around the eyes/nose area are the hardest to control yet I managed to keep it tame.
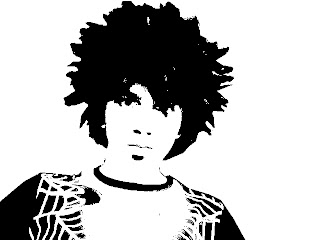 This one took ages, the original photo was taken using my laptop webcam which is the crappiest resolution ever. The photo was so poor quality that the main part of my t-shirt had to be discarded, getting my hair to not turn into a giant black blob was pretty hard which led me to using two threshold adjustment layers to balance a clear and evident face.
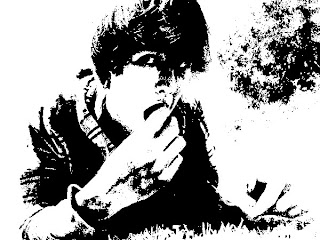
This one was pretty fun to muck around with, I practiced with adjusting the hue of the greens to keep the tree from turning into a massive black blob, an the yellows and reds in the face and hands.
The photos of Dean were taken on my iPhone

No comments:
Post a Comment