Monday, November 8, 2010

Adobe Photoshop CS5: Threshold


I recently got Adobe Photoshop CS5 so I have been mucking around with a heap of the features, in
particular its range of adjustments.

In these photos I have experimented
with the threshold while adjusting hue and saturation to gain more control over the dark and light areas.
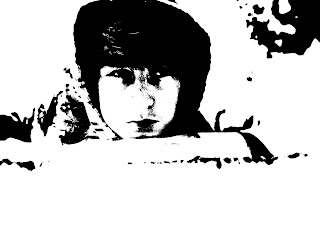
This photo was fun to work with, this was when I realized that by adjusting different colours hue and saturation instead of adjusting the master colours, I was able to produce dark areas in places I wanted, such as the hand outline.


This one was somewhat difficult due to a house in the background but I managed to remove it whilst still keeping the detail in the face and mouth. The dark spots around the eyes/nose area are the hardest to control yet I managed to keep it tame.
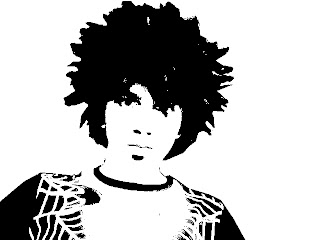


This one took ages, the original photo was taken using my laptop webcam which is the crappiest resolution ever. The photo was so poor quality that the main part of my t-shirt had to be discarded, getting my hair to not turn into a giant black blob was pretty hard which led me to using two threshold adjustment layers to balance a clear and evident face.
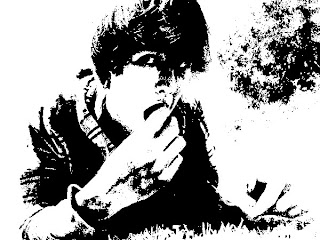


This one was pretty fun to muck around with, I practiced with adjusting the hue of the greens to keep the tree from turning into a massive black blob, an the yellows and reds in the face and hands.

The photos of Dean were taken on my iPhone

Sunday, November 7, 2010

iPhone photo of the day


This was taken by Dean on our epic Sydney adventure, here we are at the Chinese Gardens. In really amazed by this shot, Dean makes an amazing photographer, I first used Tilt Shift Generator to create the focus point, Plastic Bullet to create the effect and Photo Wizard to adjust the exposure etc and add a dreamy effect. I'm pretty proud of this photo.

Saturday, November 6, 2010

iPhone photo of the day


This was taken in Dean's backyard as we were laying on the grass under the warm blue sky, it was a perfect day, we ended up going for a walk along the beach. Right here he found a clover with chicken pox, was pretty funny. I used Plastic Bullet to create multiple effects and I couldn't decide which one to use so I decided to combine all of them somehow, thats when I found this app called Diptic which is perfect for creating multiple photo pictures.

iPhone photo of the day


I like the iPhone photo of the day posts, even though they get like no acknowledgement. Most of them seam to be of Dean, mainly because I am with him most of the time, this shot was taken at my Mum's birthday dinner at Harborview Thai Restaurant, I edited the photo with Tilt Shift Generator and then created the effect with Plastic Bullet.

Thursday, November 4, 2010

iPhone photo of the day


Dean the thinker, thinks he can take photos of me and get away with it. Took the photo with Vint Red and edited with Tilt Shift Generator.

iPhone photo of the day


This was taken on my year 12 end of year trip to the zoo, and this is a tiger =] I used Plastic Bullet to create the shine effect and Tilt Shift Generator for focus and editing.

Tuesday, November 2, 2010

iPhone photo of the day


This was when we were in Newtown for a weekend and one of the days we took a train into Central and went on an epic walking adventure that led us to a ferry ride to the other side of Sydney where we had to walk across the harbor bridge to get to the opera house where this shot was taken, it was an amazing day, this is one of my favorite photos, its all like, mellow and care free sorta feel about it, I used Tilt Shift Generator to edit. P.S I apologize for the small photos, I attempted using BlogPress to upload photos but the size doesn't justify the photo.

- iBen =]x